10 Ways to Handle Files on the Web!
Websites usually don’t use files much. Files are usually a thing that desktop applications like working with. In fact, mobile devices also don’t usually use files, they prefer sharing data between apps directly, and putting everything in the cloud where things are just images, movies, songs, or messages with no information whatsoever as to how these are stored on the disk.
It’s come to a point where younger people, who have mostly been exposed to technology via mobile devices, Google, and the web, don’t even know what files and folders are.
But files are still extremely important and millions of people use them every day, creating documents and organizing them in folders.
So, even if the concept of files itself may, one day, disappear, it is still important for applications to know how to deal with them effectively. And because the web is, more and more, the go to technology for software development, even on desktop, it is equally important for it to handle files.
Now, working with files using web technologies isn’t very new, it’s been possible to upload and download files to and from websites for a long time, but new APIs have emerged lately that make it possible for web applications to provide more engaging app-like experiences.
In this article, we’ll go over all techniques that make it possible to work with files on the web. We’ll also review browser support and look at demos (we’ll be using the same demo application throughout the article, you can try it here).
Because this article is long, here's a table of content to jump to specific sections:
- Relevant interfaces
- Uploading files
- Downloading files
- Full file system access
- Handling files like compiled apps with PWAs
- Sharing files
Relevant interfaces
Before diving in, it’s important to review how files appear to JavaScript code. There are multiple types of objects that one need to work with when working with files, and knowing the interfaces to these objects can be helpful.
A DataTransfer object is passed in with the event object when listening to drag/drop and pasting events. This object is used to get access to File objects.
DataTransferItemList and FileList
Both can be retrieved from a DataTransfer object, and can be used to get the dropped or pasted files.
The latter can also be retrieved by listening to the change event on an <input type=file>.
This object is one of the items inside a DataTransferItemList, and can be used to get the associated file object with the getAsFile() method.
A File object is used to access the content of a file. It’s retrieved by either using the DataTransformItem.getAsFile() method, or by iterating over a FileList collection object.
While similar to the File object we saw just before, the FileSystemHandle is different in that it represents a file on the actual operating system file system. It is retrieved by using the File System Access API when asking the browser to show the file picker with showOpenFilePicker().
It is a parent interface that both the FileSystemFileHandle and FileSystemDirectoryHandle extend.
Uploading files
Let’s review 3 different ways in which a browser can “open” a file. Open isn’t necessarily the right word here, upload works better. Indeed, the browser doesn’t open the file in the same was as, say, Microsoft Word opens the file. The browser doesn’t lock the file for editing, and cannot write in it.
Using an input element

The <input type=file> has been around for a very long time, and can be used nested inside a <form> to upload files to web servers.
But the input can also be used to access the content from the uploaded files directly using JavaScript code in the browser.
First, we need to add the input somewhere in the page:
<input type="file" id="input-file" accept="text/*" multiple>The multiple attribute is useful when you want to allow users to select more than 1 file in the file picker. And the accept attribute allows to restrict the types of files that can be picked to a given mime-type.
As a side note, you can use CSS to style the input and label and make something a little better than what that code generates by default.
Next, let’s listen to changes in the input so we know when a file (or files) has been selected. This can be done by listening to the change event.
document.querySelector('#input-file').addEventListener('change', handleFile);When files are selected by the user, and the listener is called, the input’s files property will contain the information we need to access the files.
It is then possible to iterate over the list of files and, for each, create a FileReader object to access the content. If the file contains text (text/* mime-type), then the FileReader’s onload event listener will give us access to the content of the file directly. Otherwise, we might have to decode the content using a TextDecoder object.
function handleFile(event) {
    const input = event.target;
    const files = input.files;
    if (!files.length) {
        return;
    }

    for (const file of files) {
        const reader = new FileReader();
        reader.onload = e => {
            let text = e.target.result;
            if (typeof text !== 'string') {
                const enc = new TextDecoder('utf-8');
                text = enc.decode(text);
            }
            // Do something with `text` here
        };

        reader.readAsText(file);
    }
}
Overall, this is a very simple and effective way to let the user choose a file and upload it to the site. It uses the familiar file picker pattern and is supported in all browsers.
Demo: using the demo app, click the “Browse” button in the top left to select one or more text files from your file system. Once selected, the content of the files is accessed and displayed in the text area in the middle of the app.
Link to the source code.

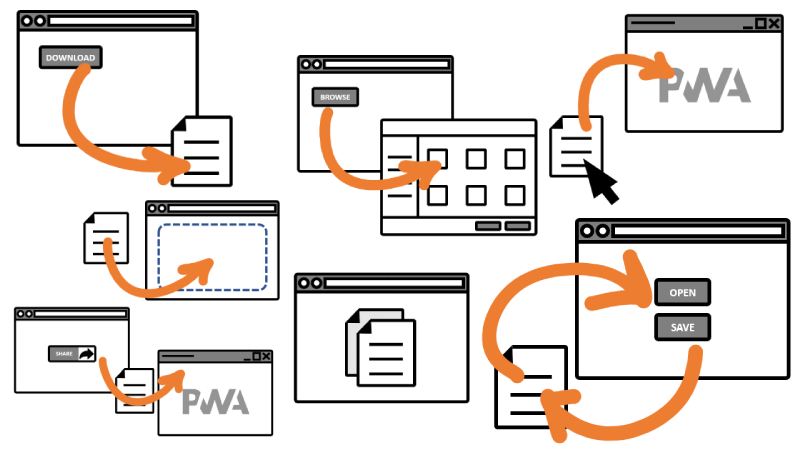
Dropping files
Another way to upload a file to a web page is by dragging it and dropping it into the browser window. By default, this will make the browser navigate away from the current site and open the file, but the site can actually listen for the drop event and cancel this default behavior.
To indicate that files are accepted by drag and drop, it can be useful to use the dragover and dragleave events, to highlight the drop zone temporarily.
const dropEl = document.querySelector('.content-wrapper');

dropEl.addEventListener('dragover', e => {
    e.preventDefault();
    dropEl.classList.add('drag-over');
});
dropEl.addEventListener('dragleave', e => {
    dropEl.classList.remove('drag-over');
});
Now, to actually handle the dropped file we should listen to the drop event. When it occurs, it will receive an event object of type DragEvent. This type of event has access to a dataTransfer property which can be used to iterate over the dropped items.
dropEl.addEventListener('drop', e => {
    dropEl.classList.remove('drag-over');

    // Prevent default behavior (Prevent file from being opened)
    e.preventDefault();

    handleDroppedItems(e.dataTransfer.items);
});
Note that dropped items don’t have to be files, so our code needs to check the type of the items before processing them.
async function handleDroppedItems(droppedItems = []) {
    for (const item of droppedItems) {
        if (item.kind === 'file') {
            const text = await item.getAsFile().text();
            // Do something with `text` here
        }
    }
}
As you can see above, after getting the File object with file.getAsFile(), we access its text content with the text() method. This method returns a promise as it is asynchronous. This is why we made handleDroppedItems an async function.
Support for dropping files in the browser is very good on desktop, and that’s what matters here anyway.
Demo: select one or more files from your file system and drop them in the demo app text area. Once dropped, their content is displayed in the text area.
Link to the source code.

Pasting files
Files can also be pasted in the browser window. Pasting and dropping files are very similar and they use the same DataTransfer object, so the code is very similar.
First, listen to the paste event on the document.
document.addEventListener('paste', e => {
    handlePastedItems(e.clipboardData.items);
});
And then, handle the pasted items just like we’d handle dropped items.
function handlePastedItems(pastedItems = []) {
    for (const item of pastedItems) {
        if (item.kind === 'file') {
            // Note that we're not using await here.
            // The DataTransferItemList passed on a paste event  becomes empty
            // after an sync step, so we have to access all items synchronously.
            item.getAsFile().text().then(text => {
                // Do something with `text` here
            });
        }
    }
}
Support for the paste event is great.
One limitation of both dropping and pasting files in the browser is that it isn’t as natural to users and requires the site to let them know that it is even possible.
Demo: copy one or more files in your file system and paste them in the demo app (use the ctrl+V keyboard shortcut). Once pasted, their content is displayed in the text area.
Link to the source code.
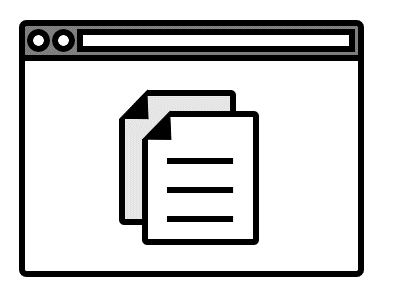
Downloading files
Now that we’ve seen how files can be uploaded to a site, let’s see how they can be downloaded.
If you’re making a site that can edit photos, or text, and you’ve used one of the above uploading mechanisms, you might want to allow users to save their changes again by downloading a new file.
To do this, you can use the download attribute on a link (<a> element). The download attribute allows browsers to trigger a file download instead of navigating when the link is clicked. The attribute can also have a value that will be used as the name of the downloaded file:
<a href="file-path" download="file-name.text">Download</a>If your JavaScript code has access to the content of the file as a string, you can do all of this programmatically too. First, create a data url from the text content:
const data = new Blob([text], { type: 'text/plain' });
const url = URL.createObjectURL(data);
And then, create the link element and activate it:
const link = document.createElement('a');
link.setAttribute('download', 'file.txt');
link.setAttribute('href', url);
link.click();
Note that the link doesn’t even have to be in the DOM for the above to work. So this is a great little piece of utility code you can put in a function, and call it anytime you need to make some text content available as a file download. Also, while you're at it, make sure you design your downloaded file names in a way that makes sense to your users!
The download attribute is supported across the board.
Demo: In the demo app, click the “Download” button in the top-right corner to transform the current text content in a file and make the browser download it.
Link to the source code.

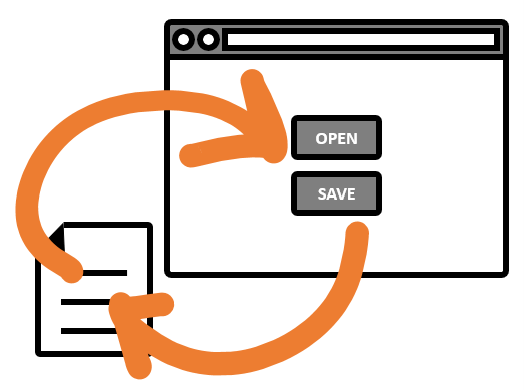
Full file system access
While the methods listed so far are great ways to access the content of a file on a site, they don’t allow making changes to it and saving those changes back to disk in a way that desktop applications normally do. VS Code doesn’t require you to download a new file in your Downloads folder every time you make text changes, it has full access to the file on disk.
The File System Access API was made to fill this gap in the web platform, and allow web apps to open and save files.
This API is part of the Web Capabilities project (aka project Fugu 🐡) which aims at giving web apps the capabilities that compiled apps normally have.
The File System Access API’s browser support is limited still, but it is implemented by Chromium, which means that Microsoft Edge or Google Chrome can use it already (or other Chromium-based browsers - note that Brave, however, has the API disabled). It is not behind a flag, and can be used right away simply by checking that the feature exists.
Note that Firefox hans't yet sent positive signals around implementing this API and discussions are still ongoing. Safari, however, started implementing the API (based on an origin-private file system for now though).
Opening a file
Opening a file can be done by the using the window.showOpenFilePicker function which triggers the OS-specific file picker, like when using an <input file>.
const openButton = document.querySelector('#open');

// Make sure the API exists
if ('showOpenFilePicker' in window) {
    openButton.addEventListener('click', async () => {
        const [fileHandle] = await window.showOpenFilePicker({
            multiple: false
        });

        const file = await fileHandle.getFile();
        const text = await file.text();

        // Do something with `text` here
    });
}
The above code only deals with one file. That’s why the multiple property is set to false, and also why we only used the first FileSystemHandle object returned by showOpenFilePicker.
If you want to be able to save back to disk, always keep a reference to the FileSystemHandle object. That’s the object that represents the file on the actual device file system.
Using this object you can get the File object (using getFile()), which can, in turn, be used to retrieve the file content as seen above.
Interestingly, a DataTransferItem object can also be used to get a FileSystemHandle. Using the getAsFileSystemHandle() method, you can get a reference to the file handle from a dropped file. This means that your app can allow saving changes back to disk for a dropped file too.
Saving back to disk
If you have the file handle object stored somewhere in your app, you can use it to make changes to the file on disk by using the createWritable() function, as seen below:
const saveButton = document.querySelector('#save');

const newText = 'foo bar';

saveButton.addEventListener('click', async () => {
    if (!fileHandle) {
        return;
    }
    const writable = await fileHandle.createWritable();
    await writable.write(newText);
    await writable.close();
});
As seen in the 2 code snippets above, using the File System Access API is rather simple.
Saving as
The API also allows to save the content as a new file using the window.showSaveFilePicker function. This function works like window.showOpenFilePicker in that it returns a new file handle.
const saveAsButton = document.querySelector('#save-as');

// Make sure the API exists
if ('showSaveFilePicker' in window) {

const newText = 'foo bar';

saveAsButton.addEventListener('click', async () => {
    // Ask the user to select the new location.
    const newHandle = await window.showSaveFilePicker();

    // And save the file to this new file handle.
    const writable = await newHandle.createWritable();
    await writable.write(newText);
    await writable.close();
});Demo: Open the demo app in Microsoft Edge, and click the “Open” button in the lower left corner to select a file from the file system. Its content is displayed in the text area. You can then edit the content and save the changes back to disk by clicking the “Save” button in the lower right corner.
You can also click the “Save as” button instead to save the content under a new file name.
Links to the source code: open, save and save as.

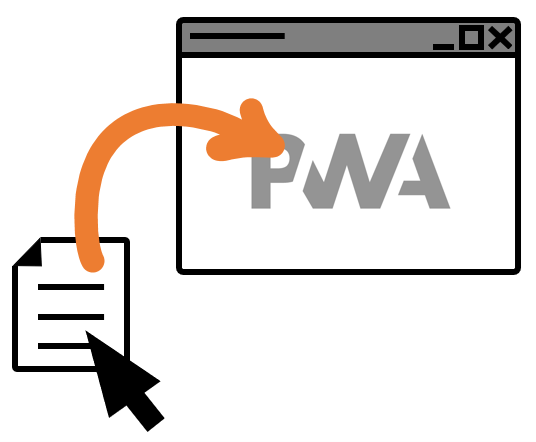
Handling files like compiled apps with PWAs
Progressive Web Apps (or PWAs) are meant to help make websites feel like applications that integrate more deeply within the operating system.
Now, with the PWA File Handling feature, they can also handle files like non-web apps can. Simply put, this means that double-clicking on a file on your desktop can launch the associated PWA automatically.
Enabling the feature
PWA file handling is, for now, only supported in Chromium and is still an experimental feature. It therefore needs to be enabled first. You can enable it by going to about://flags in Microsoft Edge or Google Chrome and enabling the “File handling API” flag.
Defining which files your app handles
Because this feature only works with PWAs, you first need to make sure you have a web app manifest file. Using the manifest, the PWA will tell the operating system which files it wants to handle using the file_handlers manifest member.
{
    "file_handlers": [
        {
            "action": "/",
            "accept": {
                "text/*": [".txt"]
            }
        }
    ]
}
In this example, the app registers a single file handler that accepts text files and tells the OS to go to the app root (using the action property) when one is launched.
Handling the files on launch
When the PWA launches, it can check if there are files to be handled. This is done using the window.launchQueue object.
// Check that the launchQueue object exists.
if ('launchQueue' in window) {
    // Consume the launchQueue.
    window.launchQueue.setConsumer(params => {
        if (!params.files.length) {
            return;
        }
        for (const file of params.files) {
            handleFile(file);
        }
    });
}
The launchQueue parameter passed to the setConsumer function gives us access to the list of files, and each file within that list is a FileSystemFileHandle object. This means we’re dealing with the same object types as when using the File System Access API. We can therefore access the file content like this:
async function handleFile(fileHandle) {
    const file = await fileHandle.getFile();
    const text = await file.text();

    // Do something with text here.
}
Having access to a file handle also means you can save changes back to disk using the createWritable() method we used before.
Demo: Open the demo app in Microsoft Edge, and install it as a PWA (click the “install app” button in the address bar when it appears). Now, choose any text file in your file system and double-click on it. You can also use the context menu (right-click) and select “Open with” to choose the demo PWA app.
Links to the source code: manifest, launchQueue handling.

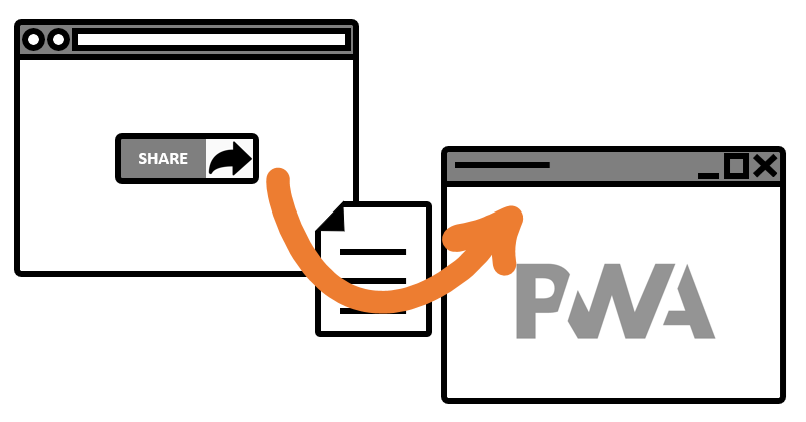
Sharing files
Finally, let’s talk about sharing. Sharing originally appeared on mobile devices where passing information between apps isn’t very easily achieved with a file system. On mobile, apps are able to share content with other apps directly.
For example, you can share an event stored in your calendar with somebody on a text messaging app. The sharing happens automatically without you having to save a file from the calendar app, and then open it from the message app. Instead, the calendar app knows how share its content, and the message app knows how to accept shared content.
It is now possible to do both of these things on the web. Let’s see how.
Sharing with other apps
Using the Web Share API, websites can share content. This API can be used to share a url, some text, or even a file, and have all of this content be handled by the operating system’s share utility, so that other apps can consume this shared content.
Before using the API, check that it is available:
if (navigator.share) {
    // The Web Share API can be used
}
The type of data that can be shared with this API is an object with the following properties: title, text, url, and files. All of these properties are optional, but you should at least provide one. It’s up to the target application to do what it wants with this data. A message app may decide to use the text and url for example.
Use the navigator.share() method to share your content. If you aren’t sure about the data, you can also use the navigator.canShare() method to test it.
const shareButton = document.querySelector('#web-share');
async function shareFile(files) {
    if (navigator.canShare && navigator.canShare({ files })) {
        try {
            await navigator.share({ files });
        } catch (e) {
            console.error('Error sharing the content', e);
        }
    }
}

shareButton.addEventListener('click', () => shareFile(someFiles));
In the above code, the someFiles array is a list of File objects, just like the ones we used when dropping and pasting files in the browser (the ones retrieved from DataTransferItem.getAsFile()).
You can also construct a file object from text if you need:
const file = new File(text.split('\n'), 'shared-file.txt', {
  type: 'text/plain'
});
The navigator.share() function is well supported across Edge, Chrome, Firefox, and Safari, but it’s worth noting that Edge and Chrome only support it on Desktop, and that Firefox does not support sharing files (or the navigator.canShare() function).
Demo: In the demo app, click the “Share” button in the right sidebar. The text content of the textarea will be used to create a file which will be shared with the operating system’s share dialog.
Each app handles shared content differently, but if you select Microsoft Mail for example, the file will appear as an attachment to a new email.
Link to the source code.

Accepting shared files
Sharing files with other apps is just half of the story. The other parts is accepting shared files. It is possible to do so by using the Web Share Target API. This API is, for now, at an early draft stage and only supported on Chromium browsers (Firefox’s intent is positive though).
Being recognized by the operating system as a potential target for shared content only works if the app is a PWA. It isn’t possible for a website in the browser to be a share target, this only works with installed PWAs.
So the first thing you’ll need is a web app manifest file and, in it, a share_target member:
{
    "share_target": {
        "action": "/share-target",
        "method": "POST",
        "enctype": "multipart/form-data",
        "params": {
            "title": "title",
            "files": [
                {
                    "name": "file",
                    "accept": [
                        "text/*"
                    ]
                }
            ]
        }
    }
}
When the OS installs the app, it will look at the share_target manifest member, and register the app is one that handles text files. When the user shares a text file from another app, the OS will prompt the user to choose from a list of apps that can handle text files, which will include this app.
Now, when the app starts, a POST request will be sent to the action specified in the manifest (/share-target here). Your server could handle the form submission at this point, but because the app is a PWA, you can also intercept the request from the service worker, and handle the file there.
self.addEventListener('fetch', event => {
    const url = new URL(event.request.url);

    if (event.request.method === 'POST' && url.pathname === '/share-target') {
        event.respondWith((async () => {
            const data = await event.request.formData();
            const file = data.get('file');
            // ...
        })());
    }
});
Above is a fetch event listener in the service worker. It handles the /share-target POST form submission and use the request.formData() function to access the shared file.
At this point, you might need to pass the file to the front-end code (rather than the service worker code). There are multiple solutions for this. You could read the content as text and use postMessage to send it to the client or you could store it in IndexedDB (by the way, working with IndexedDB can be hard, I recommend using the LocalForage library which makes it much easier).
Demo: Make sure you installed the demo app as a PWA first, then choose a text file from your file system, and share it. On Windows, you can use the context menu (right-click) and select “Share” to do this. The operating system’s share dialog will appear and list the demo app as one of the possible targets. Selecting the demo app will launch it and display the content of the file.
Links to the source code: manifest, service worker, client code.

And, that’s it! We’ve reviewed all of the current ways that web sites and apps can work with files today. There are many so it can be a bit confusing. Hopefully this article was useful in understanding the differences and which of these ways might be best suited for you.